No Products in the Cart


Last Updated: September 25, 2026
A standard pickleball court measures 20 feet wide by 44 feet long, which is smaller than a tennis court and fits nicely into most residential backyards (What Is Pickleball? Rules, History & How to Play). This compact size is one reason pickleball appeals to homeowners looking to build a backyard pickleball court budget-conscious. The court includes a net zone (the "kitchen" or no-volley zone) that extends 7 feet from the net on both sides, baselines at each end, and sidelines running the length of the court (What Is Pickleball? Rules, History & How to Play).
If space is tight, a smaller practice court at 17 feet by 34 feet allows recreational play, but standard dimensions (20x44 feet) are needed for serious games and doubles matches.
Key zones to mark: baselines, sidelines, kitchen line (7 feet from net), and center line dividing service boxes.
Choose level ground with good drainage, avoiding low spots where water pools. Full sun is ideal, though afternoon shade helps during summer heat.
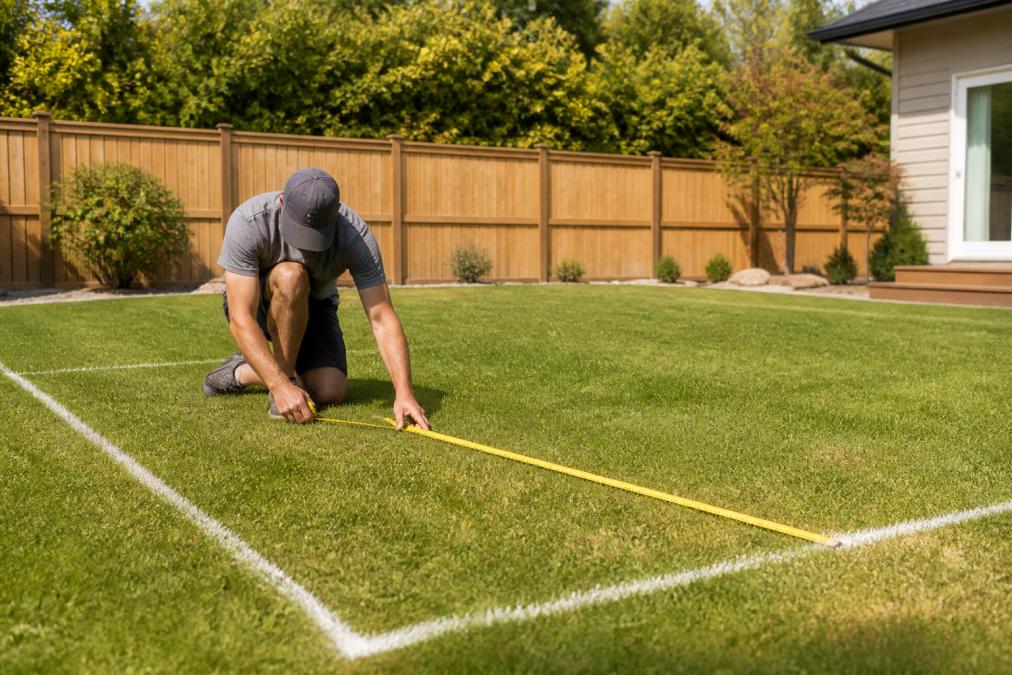
Clear rocks, roots, and debris. Remove grass or vegetation (or leave grass for a natural surface, though it requires more maintenance). Call your local utility locating service (usually free) to mark gas, electric, and water lines before digging.
Site preparation takes one to two days. Excavate 4-6 inches and compact soil firmly to prevent settling and cracking.
Consider sun exposure (south-facing courts dry faster but create afternoon glare), wind direction (trees or fencing help), and noise impact on neighbors.
Your base material choice affects cost, durability, and maintenance. The three main options, concrete, asphalt, and geocells, perform differently depending on your regional climate.
Concrete is the most durable option (20+ years in stable climates) with minimal maintenance. In freeze-thaw regions (Northeast, Midwest), use air-entrained concrete with annual fall sealing to prevent cracking. In hot climates, light-colored concrete reduces thermal stress cracks.
Asphalt costs less and installs faster (10-15 year lifespan). In freeze-thaw regions, seal-coat every 2-3 years to prevent potholes. In hot climates, use light-colored overlay to prevent softening. In humid climates, expect faster degradation from moisture and algae.
Geocells are plastic honeycomb grids (cheapest option, best for temporary courts or poor drainage). They suit casual play but aren't ideal for competitive games. Geocells drain well in freeze-thaw regions but can warp in hot climates from UV exposure. Aggregate can shift, creating uneven spots.
Regional climate recommendations:
| Base Material | Durability (Temperate) | Cold Climate Performance | Hot Climate Performance | Cost Level | Best For |
|---|---|---|---|---|---|
| Concrete | 20+ years | 15-20 years (with proper sealing) | 15-20 years (light color recommended) | High | Permanent courts in any climate; premium choice |
| Asphalt | 10-15 years | 5-7 years (frequent resealing needed) | 8-12 years (softens in extreme heat) | Medium | Budget-conscious; best in temperate zones |
| Geocells | 5-10 years | 8-12 years (good drainage helps) | 5-8 years (UV degradation risk) | Low | Temporary courts; poor-drainage sites |
For temperate climates, asphalt offers the best value. In freeze-thaw regions, concrete with air entrainment and sealing is worth the premium. In hot climates, use light-colored surfaces. Geocells work for testing before heavy investment or if drainage is critical.
Many homeowners use portable pickleball net systems that set up in minutes and store away, ideal for shared spaces or testing court layout.
Portable nets cost $100-$300 and include frame and anchors. Look for adjustable height (36 inches at sideline, 34 inches at center).
Apply primer, then two coats of exterior-grade acrylic court paint (light colors reduce heat absorption).
Check local zoning laws and permit requirements before building, including setback requirements and height restrictions.
Building a backyard pickleball court on a budget requires careful planning. Here's what you'll realistically spend:
Site preparation and base material:
Net system:
Painting and surfacing:
Miscellaneous:
Total budget ranges:
Learning from others' mistakes saves time and money. Here are the most common errors homeowners make when building a backyard pickleball court budget.
To mitigate noise before it becomes a problem:
Install a sound barrier fence: A solid 6-8 foot fence on the sides nearest neighbors reduces noise by 5-10 decibels. Adding dense landscaping (evergreen shrubs or trees) behind the fence adds another 3-5 decibels of reduction. Budget $1,500-$3,000 for a quality fence; landscaping adds $500-$1,500.
Use noise-dampening court surfaces: Some acrylic court coatings are formulated to absorb impact noise better than standard surfaces. Brands like Plexipave and Har-Tru offer noise-reduction options. These cost 10-15% more than standard acrylic but reduce ball-strike noise noticeably.
Establish quiet hours: Agree with neighbors on acceptable play times. Many communities have ordinances restricting recreational noise before 8 AM or after 8 PM on weekdays, and before 9 AM or after 9 PM on weekends. Respecting these hours prevents complaints and legal issues.
Use quieter equipment: Softer paddles and lower-compression balls produce less noise than hard paddles and pressurized balls. Educate players on your court about equipment choices.
Check local ordinances before building: Contact your city or county noise control office and ask about recreational noise limits. Some municipalities cap recreational noise at 55-65 decibels during daytime hours. Knowing the limit upfront lets you plan noise mitigation into your design. If your site is close to neighbors, noise barriers may be non-negotiable.
Notify neighbors in advance: Before construction, inform adjacent property owners about your court plans. Transparency builds goodwill and gives neighbors time to voice concerns. Some homeowners find that involving neighbors in the planning process (e.g., agreeing on quiet hours) prevents future disputes.
A regulation pickleball court measures 20 feet wide by 44 feet long, including the lines. For home play, you need at least this space available. The no-volley zone (kitchen line) extends 7 feet from the net on each side, and the baseline sits 22 feet from the net. If space is tight, some homeowners build slightly smaller recreational courts, but the standard dimensions ensure proper gameplay and fairness.
Permit requirements vary by location and depend on your local zoning regulations and HOA rules. Many municipalities require permits for permanent structures or if your court exceeds certain size thresholds. Check with your local building department and review any HOA regulations before construction. Some areas classify courts as recreational structures requiring approval, while others have no restrictions. Always verify requirements before investing in materials.
Yes, you can play on concrete, but it's not ideal. Concrete is hard on joints and can cause the ball to bounce unpredictably. A proper court uses acrylic paint and non-slip coating over concrete to improve playability and safety. If using your driveway, add court surfacing materials to create a more consistent playing surface and reduce impact. Asphalt and geocells are softer alternatives that provide better play quality.
The most budget-friendly approach uses an existing flat surface (concrete driveway or patio) as your base, then adds acrylic paint and court lines. Add a portable pickleball net system instead of permanent installation. This DIY route can cost $300-$800 depending on court size and paint quality. For new construction on bare ground, expect $1,500-$3,500 using geocells or recycled asphalt base. Avoid costly site grading and professional installation to keep costs low.
Building a backyard pickleball court on a budget is achievable with proper planning and the right approach. The key is choosing materials that balance cost with durability, preparing your site correctly, and avoiding common mistakes. Start with Home 2 Court's selection of quality equipment to make your court investment complete. SHOP NOW!
